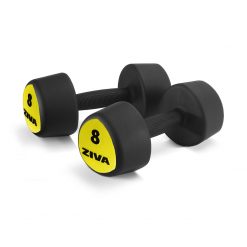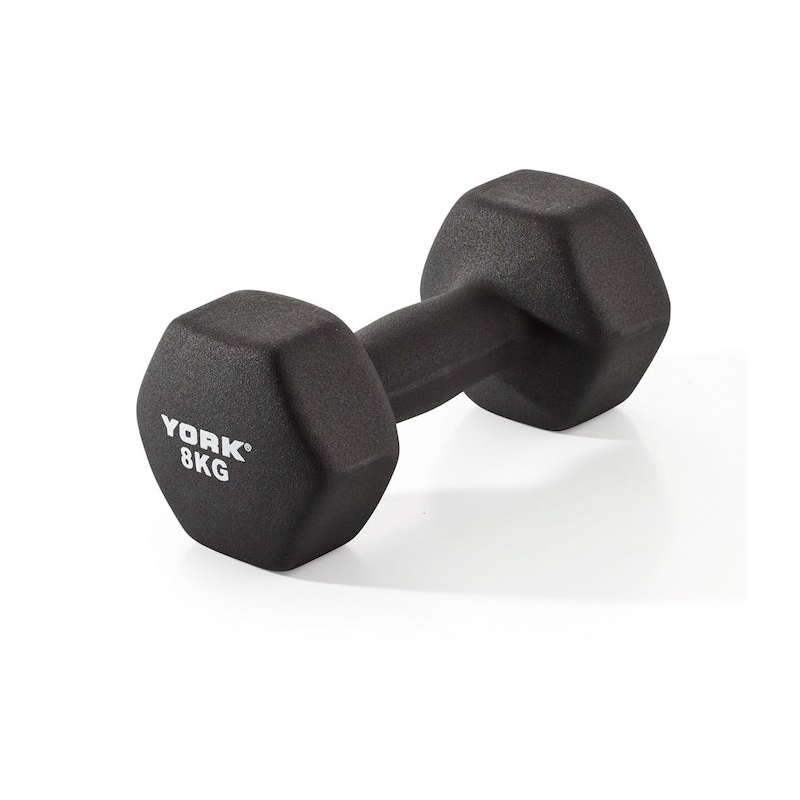
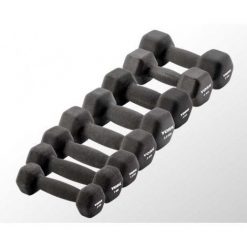

York Neo Hex Dumbbells are a perfect exercise aid for those who want to gain strength and tone the muscles
The York Neo Hex dumbbells are made from cast iron and coated in a thick, long-lasting, easy-to-clean neoprene. With ergonomic handles and flat sides to keep the dumbbells from rolling away they are ideal for use at home, gyms and studios.The neoprene finish provides a great grip and reduces slippage. They are comfortable on the hands to use for longer weight training or toning sessions.
Dumbbells can provide the two types of overload that lead to muscle growth: mechanic and metabolic. Mechanic overload is the result of damaged caused by muscle contractions, which stimulates the repair process and leads to an increase in muscle size. Metabolic overload occurs when a muscle is worked to fatigue, which leads to the adaptation of muscle cells being able to store more glycogen which can cause muscles to increase in size. Heavy dumbbells can generate mechanical overload, while moderate-weight dumbbells combined with high reps (to fatigue) can produce metabolic overload.
Dumbbells can be used for a variety of exercises due to their size and the fact they can be held in each hand, dumbbells can be used to create a variety of different movement patterns to develop task- or movement-specific strength.
Dumbbells are inexpensive, versatile and easy-to-use weights that let you create a variety of workouts to improve your health. Depending on the amount of weight you use, number of repetitions you do and pace at which you use them, dumbbells can help you improve cardiovascular fitness, burn calories, build muscle or increase muscular endurance for sports.
York Neo Hex Dumbbells Key Features:
- Durable neoprene coating.
- Ergonomic handle design.
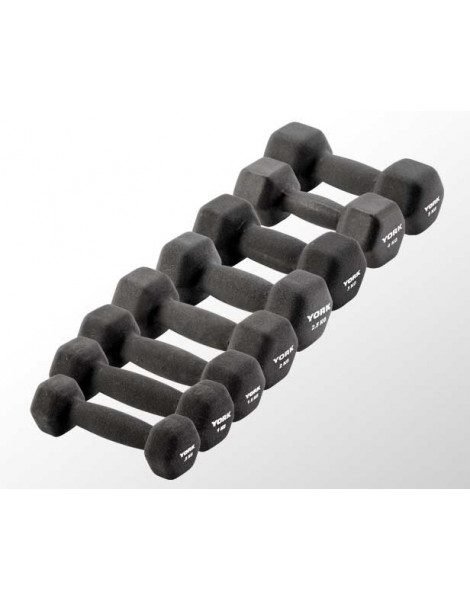
- Anti-roll flat sided heads.
- Easy to clean.
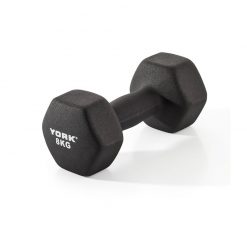
- Sold as single.
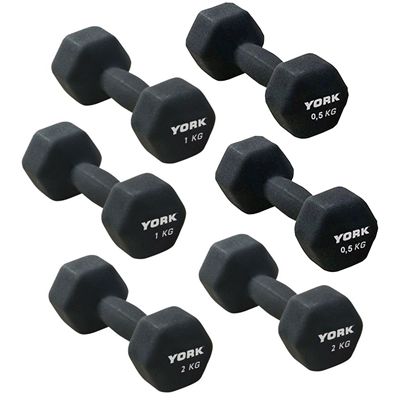
| Weight | 0.5kg, 1kg, 1.5kg, 2kg, 2.5kg, 3kg, 4kg, 5kg, 6kg, 7kg, 8kg |
|---|---|
| Warranty | 1 Year Warranty |
Brand
York Fitness
Designed for anyone looking to improve their strength and fitness at home, York Fitness can be your training partner dedicated to helping you reach your goals.
Their weight training and fitness equipment collections are packed with fantastic products to get your heart pumping, body sweating and muscles working.
If you’re tired of waiting for fitness equipment at the gym then browse their extensive range of treadmills, cross trainers, exercise bikes and rowing machines. They provide the perfect home cardiovascular workout.
Product Question
Please contact us for international shipping options. We’re able to ship most of our products worldwide.
Related products