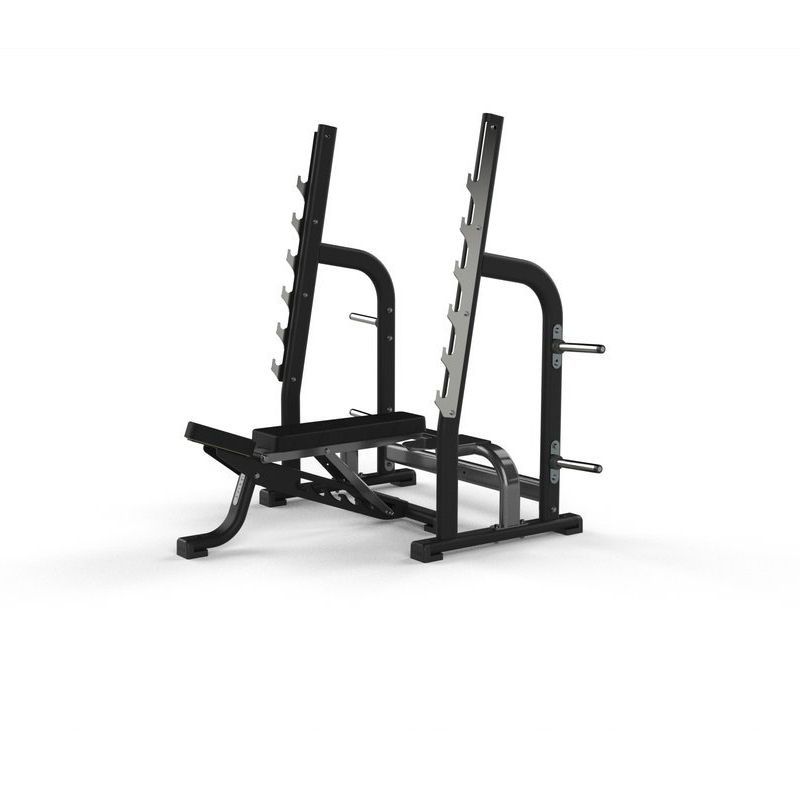

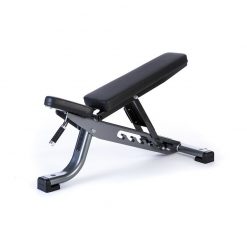
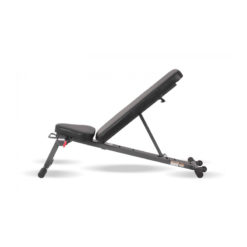
The Jordan Adjustable Olympic Adjustable Multi Bench will be with you for the long haul
The Jordan Adjustable Olympic Multi Bench is suitable for all fitness and strength environments. Thick oval section steel ensures that the Bench is stable, and is built to endure the toughest workouts.
- The bench has 7 positions of adjustment covering flat, incline & decline positions ranging from -5 to 80 degrees
- Guide rail for adjustable bench ensuring the bench is positioned in the perfect position every time.
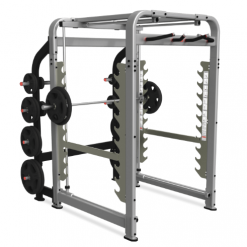
- 7 Multi-position bar catchers
- 4 Olympic weight storage horns
- Weight: 125kg
| Weight | 125 kg |
|---|---|
| Dimensions | 138 × 180 × 218.6 cm |
| Colour | Black, Grey |
Brand
Jordan
Jordan are functional fitness experts
For more than 25 years Jordan have been the leading authority on the design, manufacture and supply of quality commercial functional fitness equipment in the UK and now internationally. Here at Gym Marine Yachts & Interiors, we recommend many of their products to our gym design clients. It is often functional gym equipment that will leave your home or superyacht gym feeling complete and the Jordan products are perfect.Product Question
Please contact us for international shipping options. We’re able to ship most of our products worldwide.
Related products
Out of stock
Out of stock
Out of stock
Out of stock
Out of stock