

Inspire Fitness Folding Bench
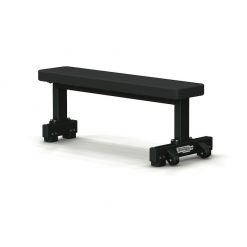
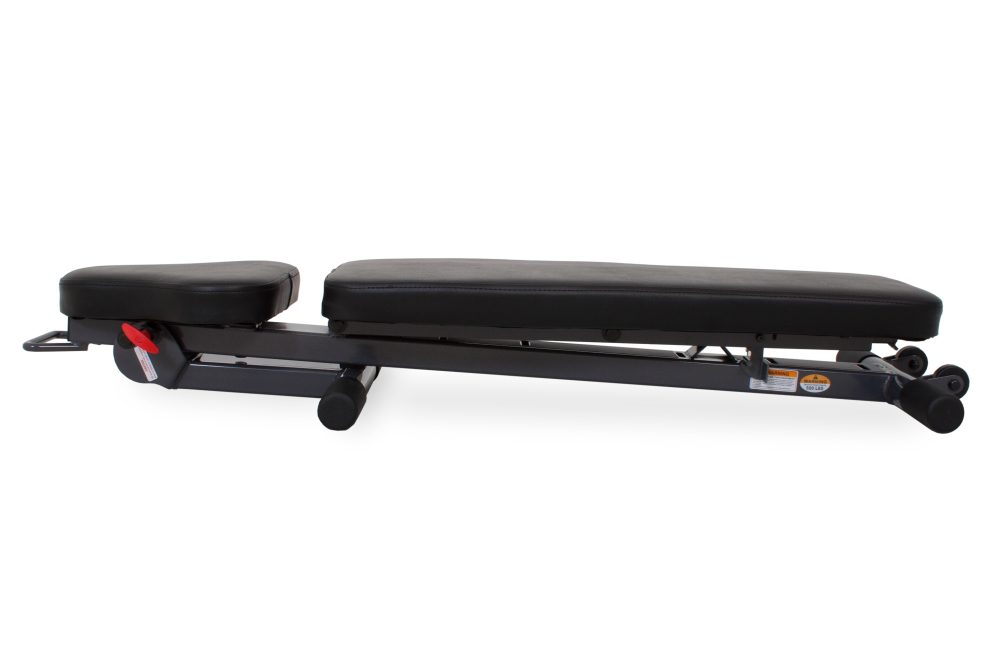
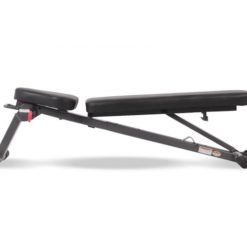
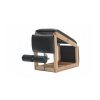
Superyacht and home gym customers alike have found the Inspire Fitness Folding Bench to be both practical and hardwearing, whilst also being fantastically easy to store. This is one of the only benches on the market which folds completely flat, meaning it can easily be stowed in a locker, beneath a deck hatch or in a cupboard when not in use.
Please note, the Inspire Fitness Folding bench is currently available for preorder only with expected delivery for late July.

The Inspire Fitness Folding Bench is hassle-free and can be stored completed flat.
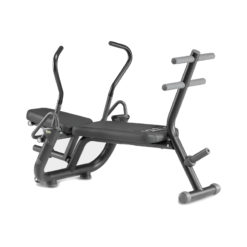
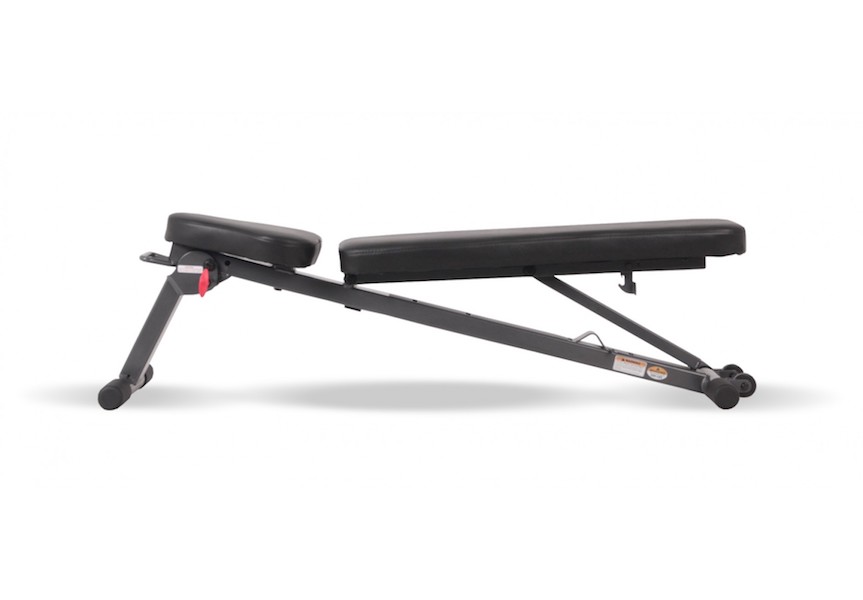
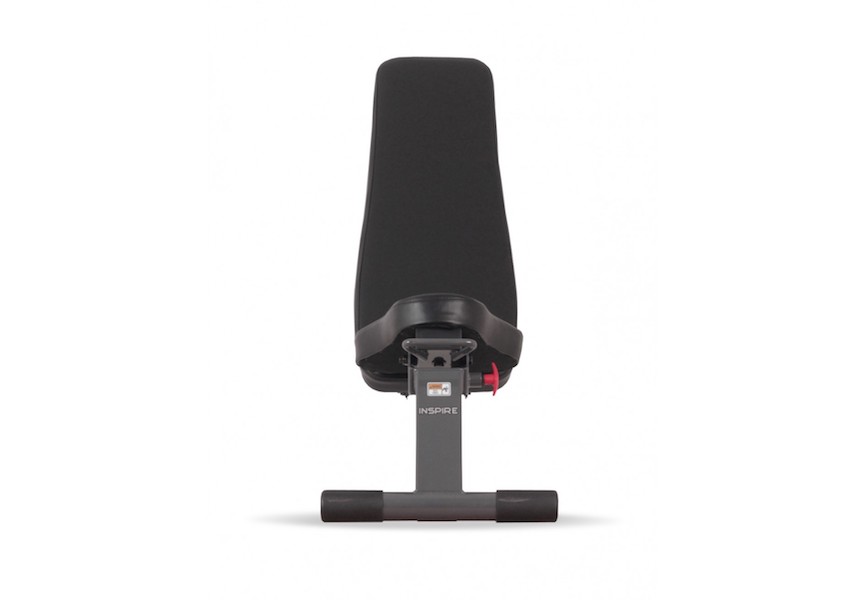
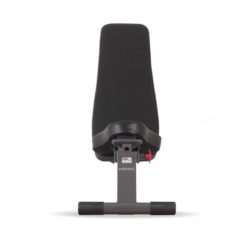
The Inspire Fitness FLB2 Folding Bench is the perfect fitness/weights bench when space is at a premium. The Inspire folding bench is made from the the highest quality materials. This folding adjustable bench design allows you to do flat, incline or decline workouts and offers a unique 6 position adjustment – Flat, 30-degree incline, 45-degree incline, 65-degree incline, 85-degree incline & a superb 20-degree decline option.
Key features of the Inspire Fitness Folding Bench:
- Heavy duty rectangular frame and round 11 gauge tubular steel
- Two Tone Electrostatic Powder Coat offers a durable maintenance-free finish
- Contoured Seat & Back Pads
| Weight | 20 kg |
|---|---|
| Dimensions | 130 × 39.5 × 102.5 cm |
| Max User Weight | 227kg (500lbs) |
| Warranty | Home: Lifetime Frame & Parts, 2 Years Cables and 90 Day Upholstery, Light Commercial: 10 Year Frame, 1 Years Parts & Cables and 90 Day Upholstery – up to 6 Hours usage per day in a supervised environment |
Brand
Inspire Fitness
Inspire Fitness have your strength requirements covered.
Inspire Fitness was founded in California in 2004 and in 2008 the business was introduced to the UK and Europe where it has had a strong presence here ever since. Specialising in strength equipment, Inspire products span from multigyms such as the FT2 Functional trainer to folding benches.
Product Question
Please contact us for international shipping options. We’re able to ship most of our products worldwide.
Related products