Jordan Straight Cable Bar
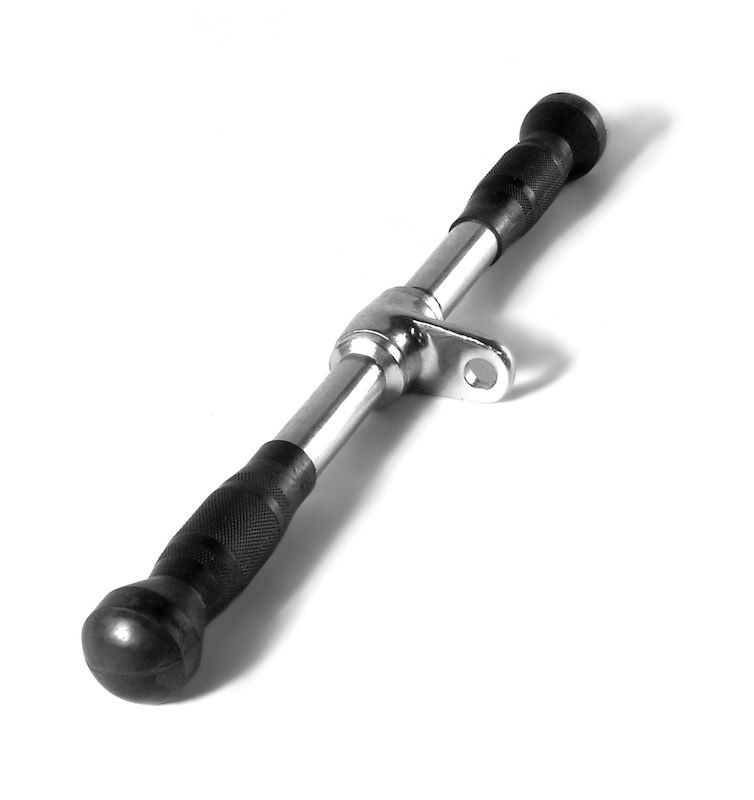
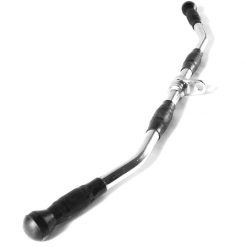
The Straight Cable Bar is a staple in almost all cable machine workouts. Use it for bicep curls, tricep pressdowns and a whole host of other exercises. This straight cable bar by Jordan features urethane grips and can be used with almost any cable machine or functional trainer.
The Straight Cable Bar is a staple in almost all cable machine workouts. Use it for bicep curls, tricep pressdowns and a whole host of other exercises. This straight cable bar by Jordan features urethane grips and can be used with almost any cable machine or functional trainer.
Brand
Jordan
Jordan are functional fitness experts
For more than 25 years Jordan have been the leading authority on the design, manufacture and supply of quality commercial functional fitness equipment in the UK and now internationally. Here at Gym Marine Yachts & Interiors, we recommend many of their products to our gym design clients. It is often functional gym equipment that will leave your home or superyacht gym feeling complete and the Jordan products are perfect.Product Question
Please contact us for international shipping options. We’re able to ship most of our products worldwide.
Related products
Out of stock
Out of stock
Out of stock

Out of stock
Out of stock