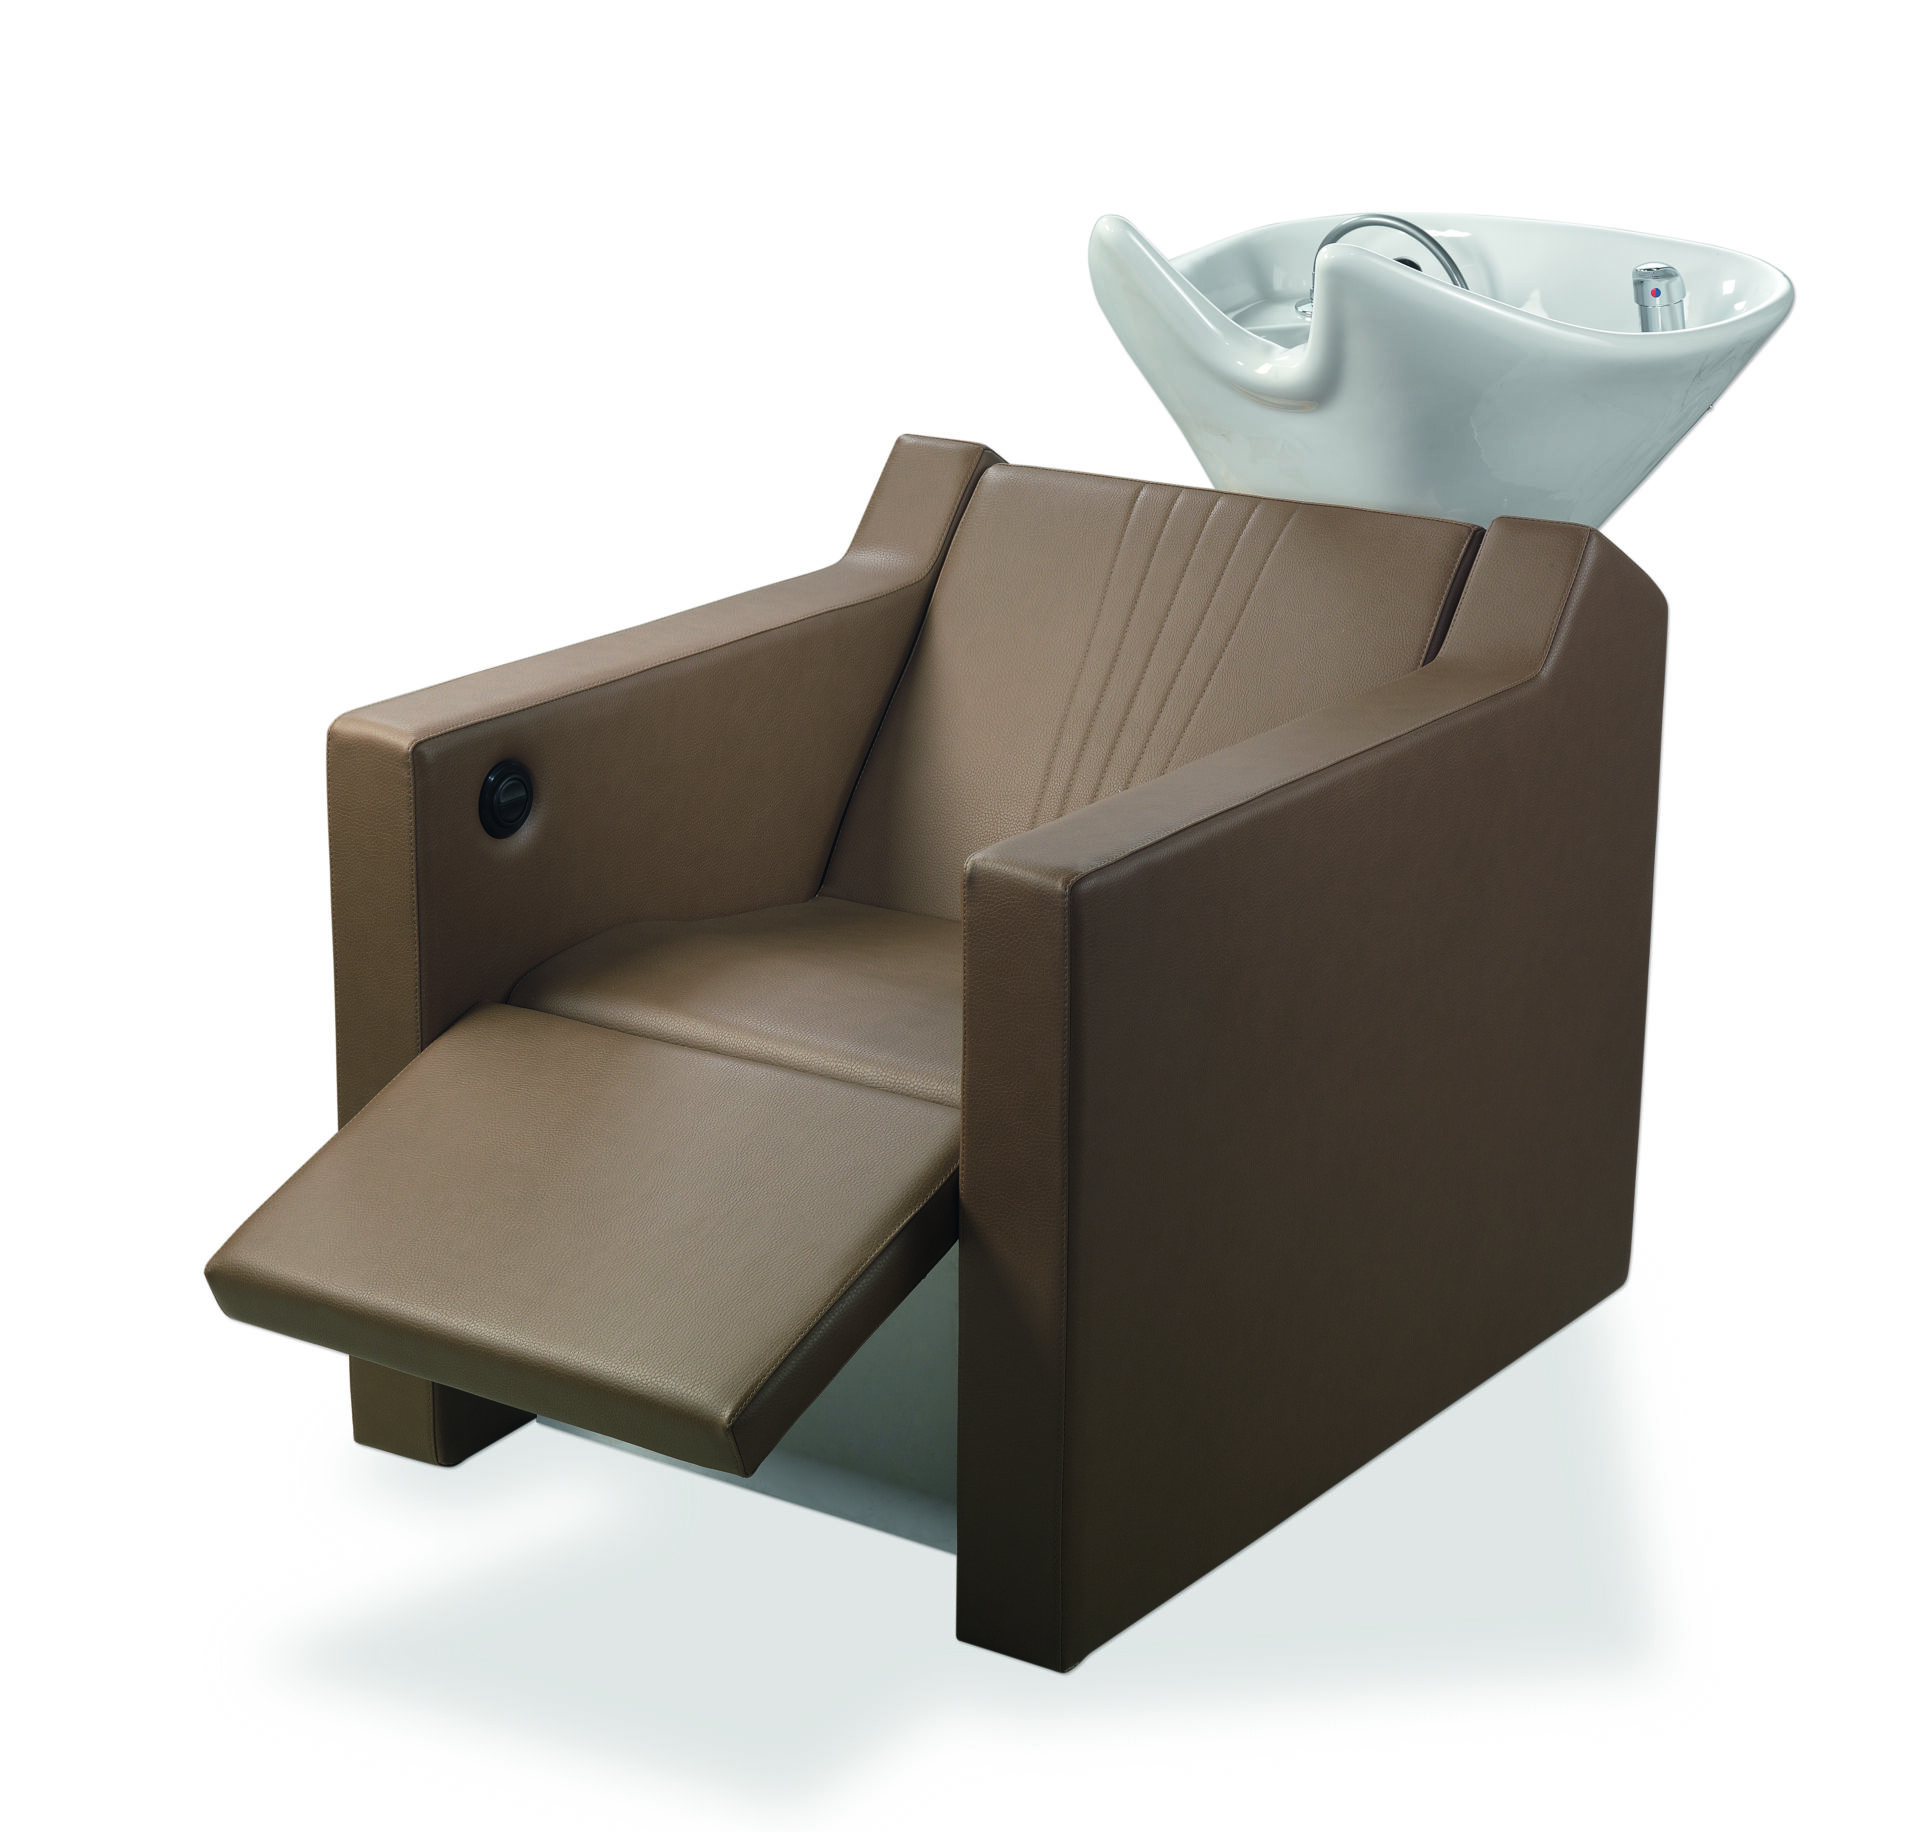
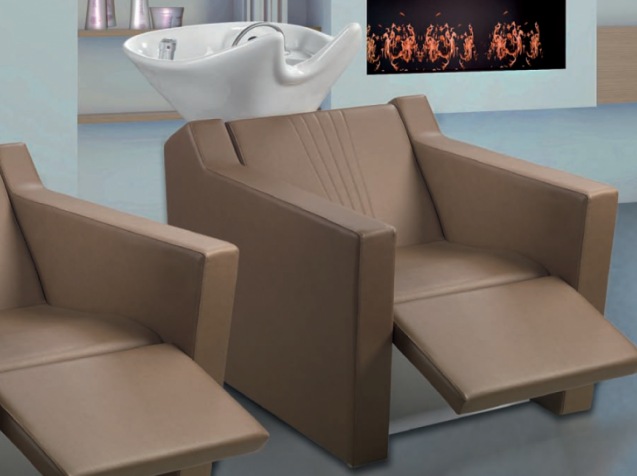
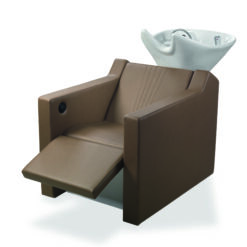
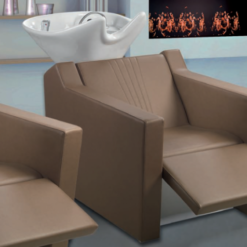
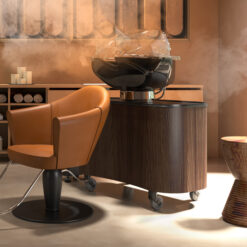
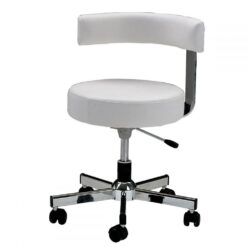
The sleek design of the Lemi Soho Chair is timeless
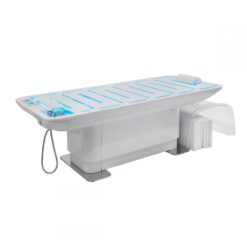
Lemi’s Soho Chair is a practical hair washing station for a variety of salons and spas. You can fully customise and cater this chair to best fit your client or styling needs. You can amend the hight and tilted angle of your double movement basin to provide your clients with maximum comfort, during even the longest of uses.
You are able to fully customise the appearance of your salon chair, with a variety of leather finishes to choose from, ranging from the classics to the bold and the brights. Made to last, this chair is robust in design, designed to withstand water and moisture damage traditionally found in spa and salons.
Key Features of the Lemi Soho Chair:
- Fitted with an electronic leg rest, suitable for clients of all heights, ensuring their comfort during hair washes.
- Available in a multitude of upholstery finishes and material.
- The upholstery is ideal for on the go cleaning between clients, sweat proof and water resistant.
- Comes fitted with adjustable leg rest, allowing you to adjust the angle at which your clients sit.
| Weight | 104 kg |
|---|---|
| Dimensions | 73 × 155 × 98 cm |
| Warranty | 5 Years |
| Custom Options | Yes |
Brand
Lemi
Since 1989, Lemi has been manufacturing their line of spa equipment. Made in Italy, they have a wide range of massage tables, beauty chairs and spa supplies to ensure the best possible experience for clients. Their innovative products with superior quality and customisable design makes them a popular choice when it comes to luxury wellness equipment.
Product Question
Please contact us for international shipping options. We’re able to ship most of our products worldwide.
Related products
Out of stock
Out of stock
Out of stock
Out of stock
Out of stock