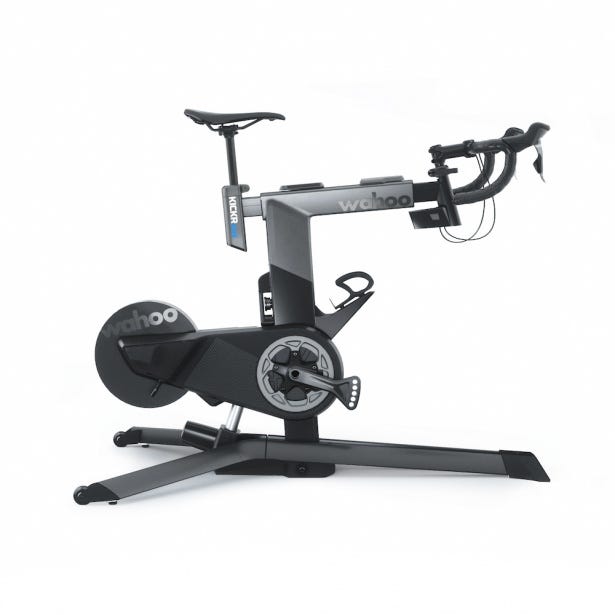

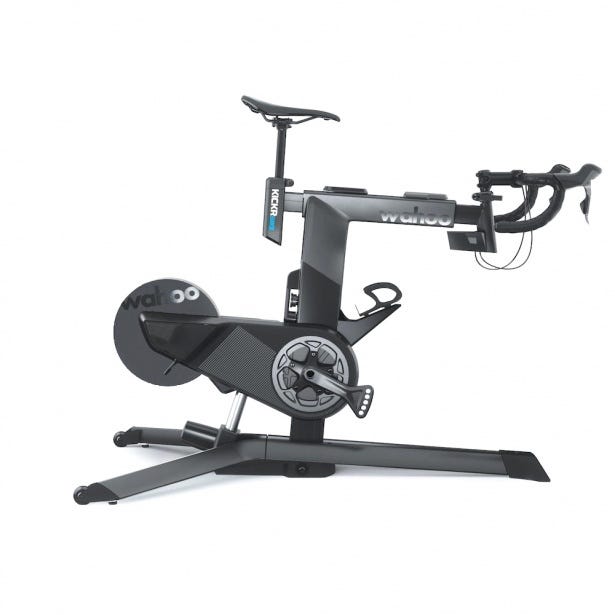


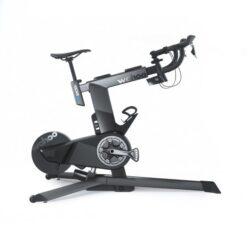


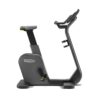
Experience a responsive, realistic and powerful ride with the Wahoo KICKR BIKE
An unparalleled indoor training experience, the Wahoo KICKR BIKE features innovative technology for a realistic ride. Built with a combined electromagnetic flywheel and motor, the flywheel technology provides power accuracy of +/1% and is extremely responsive with quick braking. Simulating grade changes, the Wahoo KICKR BIKE raises up to 20% and lowers to -15%, replicating the sensation of riding outdoors.
For optimal performance, the Wahoo KICKR BIKE can be customised with the users choice of saddles, bars and pedals. Additional accessories such as the KICKR HEADWIND FAN is also compatible with the bike. A bluetooth controlled smart fan, it pairs with the bike, so as your speed or heart rate increases, so will the fan speed up to 30mph. For serious cyclists that want a powerful, realistic ride, the KICKR BIKE is an excellent choice.
Key Features:
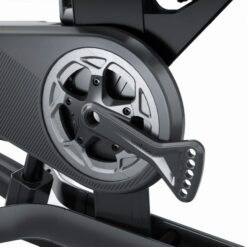
- Optimised Flywheel Technology: combining a 13lb (6kg) flywheel and enhanced motor for unrivalled accuracy, responsiveness, and realistic ride feel.
- Silent Operation: the balanced belt driven motor provides the quietest of rides.
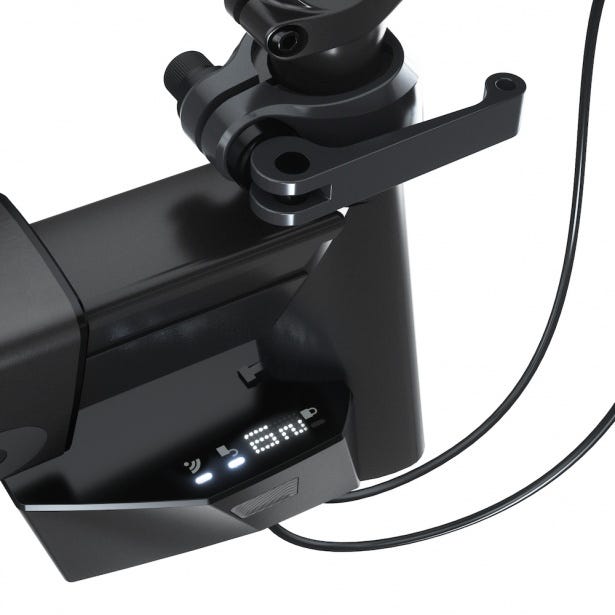
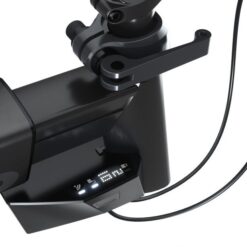
- Controlled Resistance: connect to your device to automatically set resistance via apps.
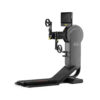
- Real-Time Grade Changes: physically raising and lowering the bike to match ascents up to 20% and descents as steep as -15%.
- Power Accuracy: their most accurate power measurement of +/- 1% and generates up to 2200W of resistance.
- Personalised Fit: the easy app set-up allows the bike to mirror the geometry of your outdoor bike. 3 options available to measure: professional fit, measure my bike, and measure my body,
- 5 Quick-Release Levers: stack, reach, setback, saddle height and frame height.
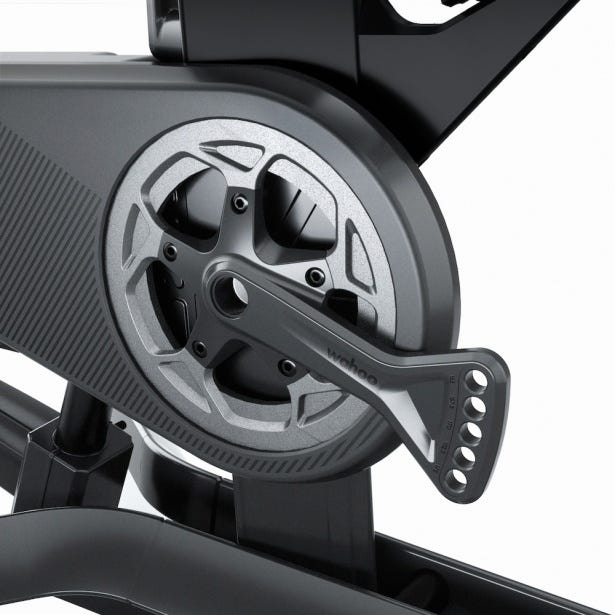
- Adjustable Crank Arm: supports 165, 167.5, 170, 172.6 and 175mm crank lengths.
- Programmable Gearing: select the number of speeds and cassette tooth count to replicate the exact gearing configuration of your outdoor bike.
- Customisable Kit: fit the Wahoo KICKR BIKE with choice of saddle, bars, and pedals for the perfect setup.
| Weight | 42 kg |
|---|---|
| Boxed Dimensions | 135 x 34 x 88 cm |
| Connectivity | FEC, ANT+, Bluetooth |
| Max User Weight | 113kg (250lbs) |
| Power Requirements | 100-240V, 50/60 Hz, 2.5A Max |
| Resistance | Electromagnetic & Enhanced Motor |
| Warranty | 2 years |
Brand
Wahoo

Product Question
Please contact us for international shipping options. We’re able to ship most of our products worldwide.
Related products