
Disclosure: This post may contain affiliate links. Purchasing a product through one of these links generates a commission for us at no additional expense to you.
Now that you’ve picked the right WordPress theme, it’s time to begin customizing.
Before you start adding plugins and exploring more customization options, it’s smart to master the basics.
In this guide, I’ll cover the basic customization settings that are standard to all WordPress sites.
The Customizer
If you want to change how your site looks, head to the Customizer. You can access the Customizer by clicking on the Customize menu item listed under Appearance.
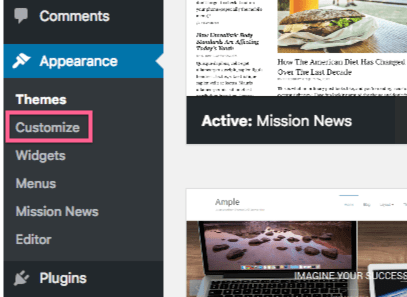
This is where the majority of the options to change your site’s appearance are located. It’s a key feature for anyone who wants to learn WordPress and customize their first site.
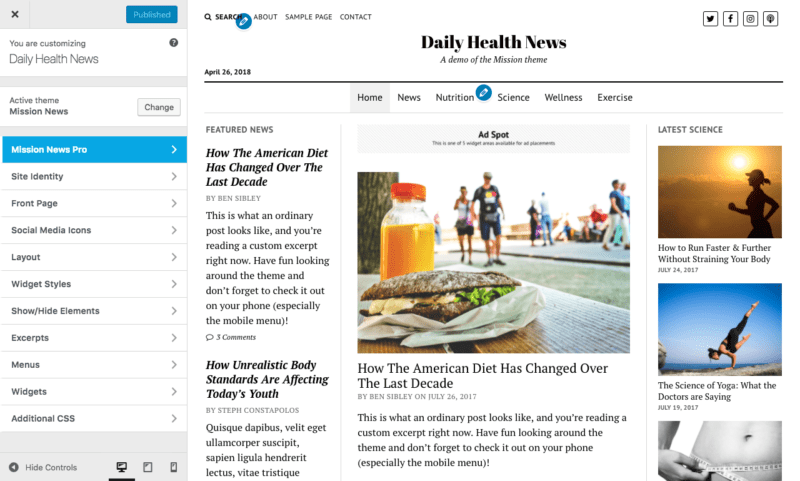
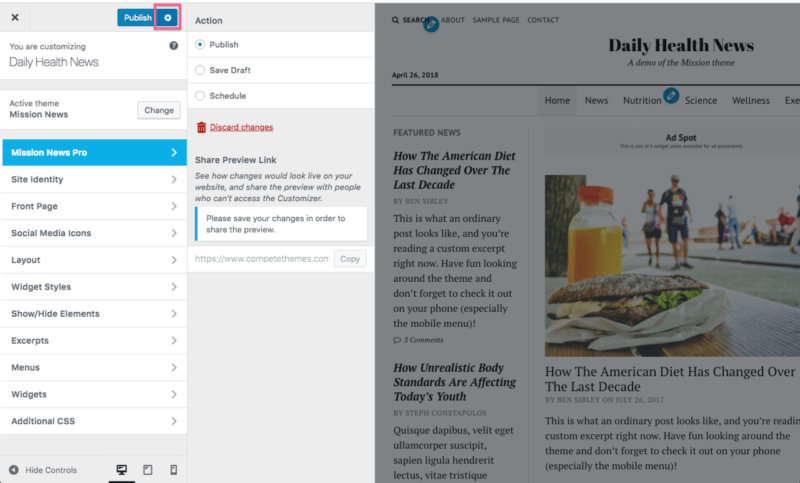
With the Customizer open, you can navigate the sections in the left panel and the site preview on the right will update automatically. None of these changes are live for visitors to see until you publish them.
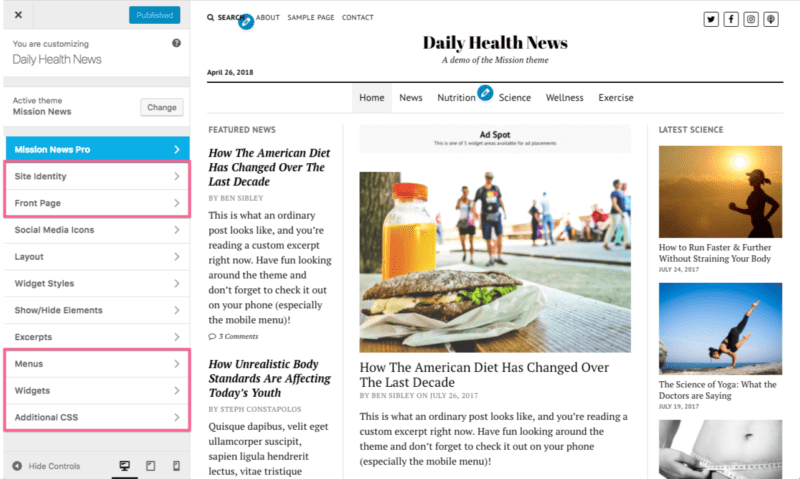
Some sections in the Customizer panel are standard in every WordPress install, but many of them will be added by your theme. For instance, the sections highlighted in red in the image below are found in every WP site, and the others have been added by Mission News.
Before we dive into the first default section, the Customizer has a few additional features you should be aware of.
Customizer features
You may want to hide the Customizer panel in order to get a fullscreen preview of your site. You can do this by clicking the Hide Controls button at the bottom left of the panel.

It’s also helpful to view your site in smaller sizes so you will know how it looks on mobile devices. There are buttons at the bottom of the panel to switch between desktop, tablet, and smartphone screen sizes.

Ever since WordPress 4.9, you can also save drafts in the Customizer just like a post. Click the gear icon next to the Publish button after making an edit and you can save your changes as a draft or schedule them to go live at a later time.
Pretty cool, right?
Now that you know about all the Customizer’s built-in features, let’s get into the first default section.
Site Identity
In this section, you can change your site title and tagline which every theme displays.
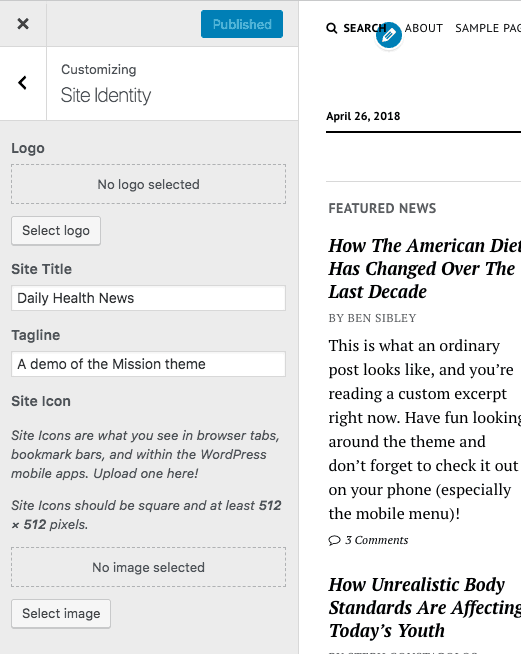
There’s also a Site Icon option which is how you can add a favicon to your site. Favicons are the little images that appear in the left side of browser tabs.
You might find a logo option too, but not all themes will include this. Some themes will have a separate section for uploading a logo.
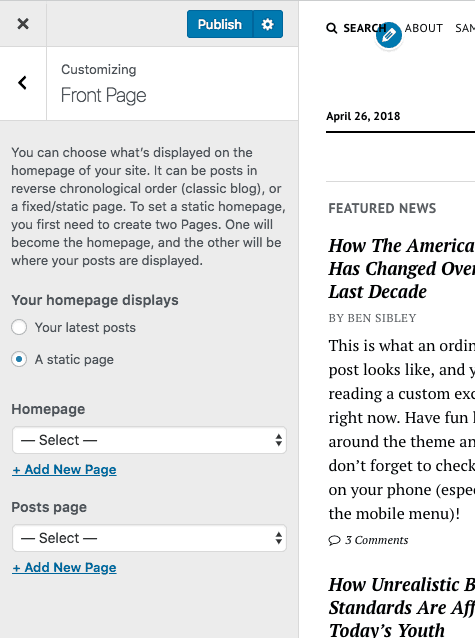
Front Page
This is where you can choose to display your latest posts on the homepage or a static page. If you choose a static page, you’ll be able to select any page you’ve published for the homepage and another for the posts page.
We have a tutorial on updating the homepage you can follow along with for more guidance.
These same settings can also be found in the Reading settings menu in your dashboard.
Menus
By default, your site will display all of your pages in alphabetical order in the menu. You can create custom menus with any pages, posts, categories, or custom URLs you want. You can even change the menu item labels and place them in any order you want.
In the Menus Customizer section, you can create/edit menus and assign them to locations on your site.
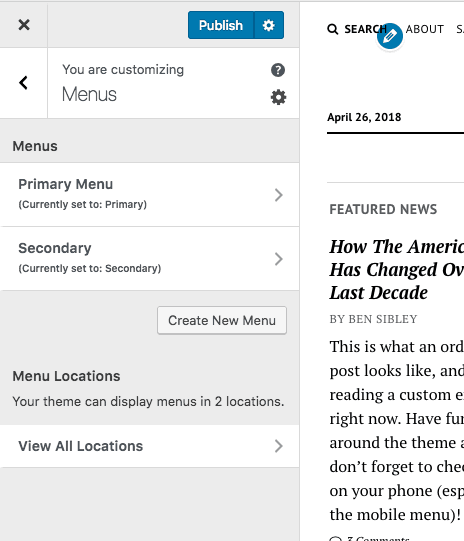
Every WordPress theme comes with at least one menu, but often times there will be two or three. For instance, there may be a menu in both the header and the footer. In this case, you would create two menus and assign one to the header menu area and the other to the footer.
If you want more instruction on creating custom menus, check out this tutorial on menu customization.
Widgets
Widgets allow you to add content to your site outside of the posts and pages. For example, you could add a video to your sidebar using a widget or include a list of related posts after each post.
Widgets have to be added to “widget areas” and those are added by your theme. Some themes don’t have any widget areas, but most have at least one and it’s not uncommon to find 5-7 widget areas in a theme.
Click on the Widgets section in the Customizer and you will see a list of widget areas.
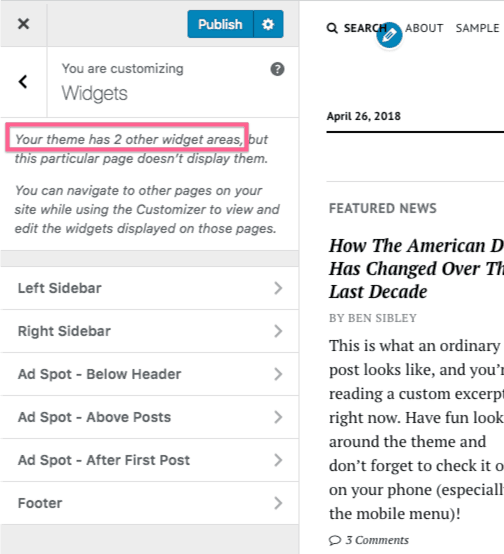
In this screenshot, you can see that Mission News has six widget areas, but WordPress is also telling us there are two other widget areas. They’re not displayed unless you view a page where they’re visible. Kind of weird, I know ?
If you click on any one of these widget areas, you’ll see the active widgets and a button to add a new widget.
Each widget will have a few settings to customize and you can drag-and-drop them quickly to reorder them. WordPress comes with 17 widgets and you can add more with plugins.
Another method
The fact that all the widget areas aren’t always shown is a little confusing. You can also add widgets via the admin dashboard if you click on the Widgets menu item below Appearance.
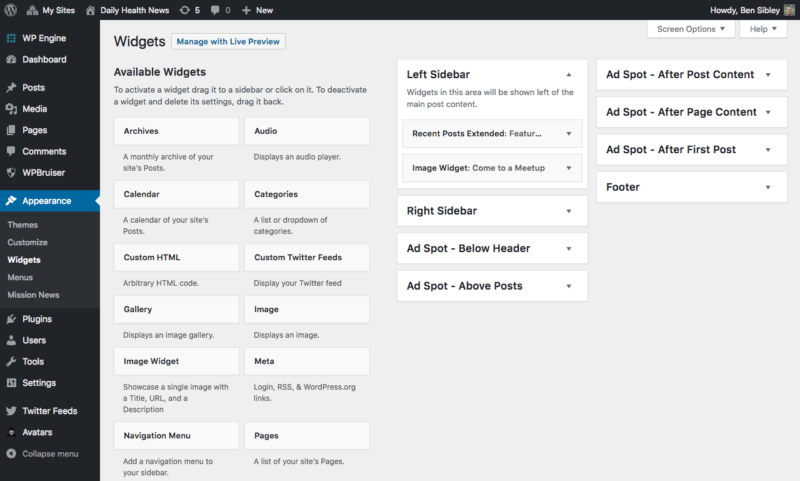
The widgets are listed on the left and the widget areas on the right. You can add a widget to any widget area by clicking on it and choosing a widget area or by simply dragging-and-dropping it into an available widget area.
Non-Customizer settings
Those are all the Customizer sections that every WordPress site has.
When you’re done setting those options, you should have a pretty good foundation for your site’s design. Every other section in your Customizer has been added by your current theme (or possibly a plugin).
There are just a few options outside the Customizer you’ll want to set before you’re finished.
General settings
In the General settings, you’ll find one more option that can affect the style of your site: the date format.
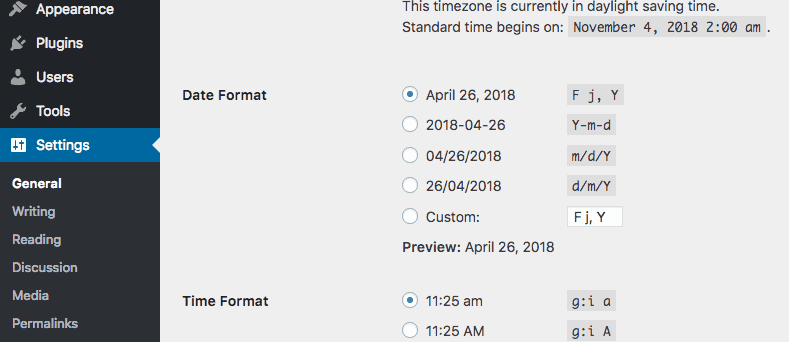
When you set the date format here, your theme and plugins will use this format wherever a date is displayed.
While you’re in the General settings menu, make sure the timezone is set too. Otherwise, you can end up with issues when scheduling posts.
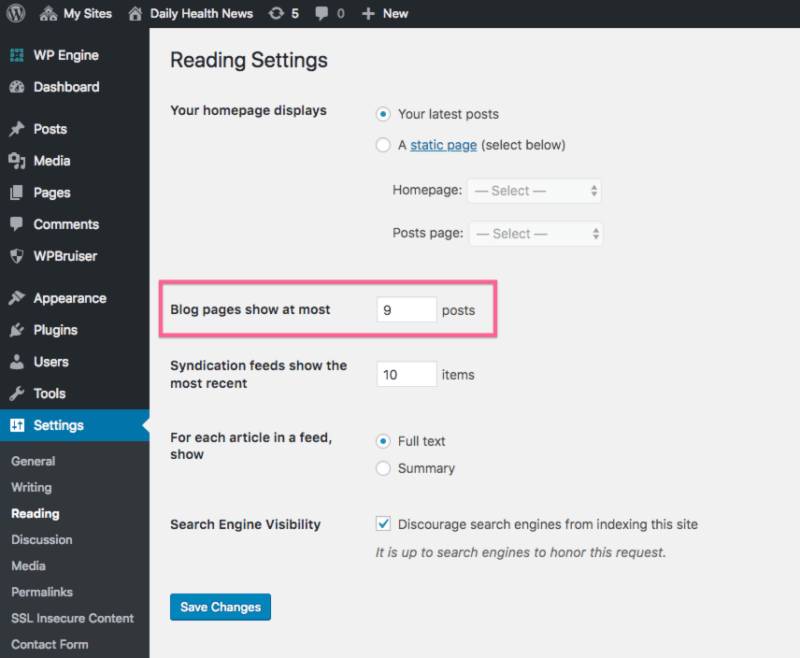
Reading settings
The Reading settings menu also includes the front page option, but it lets you control the number of posts on your blog too.
User profile
Many themes will display the post author’s name on each post they publish. By default, this may read something like “admin.” Some themes will also display a bio for the author after the post content too.
You can modify both of these settings via the User > Your Profile menu.

We have a short tutorial you can follow to change your public username with this menu.
You can also edit this information for any other registered members via the All Users menu.
Theme admin pages
While modern themes place all or most of their settings in the Customizer, there are some themes that put them in another menu in the dashboard instead. There is no standard for where this menu is added, but it is usually included under the Appearance menu or added as a new top-level menu item below Settings.
Customization complete
Those are all the settings you are guaranteed to have on every WordPress site.
Your theme will likely add a lot more settings to the Customizer and those will give you finer control over aspects like colors and fonts. If you haven’t selected a great theme yet, review our complete theme selection guide to ensure you choose the best one for your site.
If you’re ready to take your site to the next level, check out our tutorial on using CSS Hero for visual customizations and using page builders to create amazing new templates and layouts.
We also have a collection of the best WordPress tutorials for advanced users if you want to learn more.
